Saving Summer – Root, Stem and Leaf
Even as I bite into the plump, rose-tinged golden peach I just bought at the farmers market, I am thinking about January. Actually, I’m lamenting all the months of the year when peach juice dripping down my chin would do more to dispel the cold than any amount of fleece and hot chocolate. However, I despair much less these days because I have already started saving the fresh tastes of summer by pickling, freezing and roasting. Not only are these methods easy, but they also reduce food waste in my kitchen.
As a big fan of sourcing fresh produce from local farmers and farmers markets, I too often buy way more than I can use before it turns on its way to rotting. When 30 to 40% of all food in the US is wasted, equaling nearly one pound of food waste per person every day, I am compelled to do as much as I can to cut food waste.
Reducing food waste is a process. Few of us are perfect at this—including me—but each one of us can increase our awareness and make a commitment to do as much as we can. Too often, I’ve seen conversations about food waste trigger guilt or shame when what we need are ideas and motivation. So, I developed some tips to help you and me both do our best each day.
- Eat seasonally and locally
By preserving food, you extend the season mindfully. Buying peaches flown in from South America in February increases packaging waste and negatively impacts the environment—in addition to not supporting the farmers around you.
- Buy what you really think you will use
Give it thought. What do you want to cook/bake and eat? Just because the summer squash looks so inviting, don’t buy it if you’re tired of zucchini. Of course, sometimes, we buy too much or plans change, and the cucumbers end up “hiding” in the bottom of the veggie drawer. Preserving methods, along with using your fridge well (see below), can save the day…and the produce.
- Use all the parts of the food you buy
Chop the stems of herbs, chard, spinach and kale to add to a dish or the veggie scrap bag in the freezer along with carrot, onion, leek and potato peels, stems and ends trimmed from veggies and any tired veggies. Together they make lovely, healthy stock. Bake with soft, aging fruit for more intense flavor.
- Arrange your refrigerator and re-arrange as needed
Once you get used to keeping food in some sort of order or groupings, it will be easier to keep track of what you have and use it in timely ways. And go through your fridge regularly, especially those fruit and veggie drawers. Fridge-foraged salads, soups, egg dishes and stir-fry are great ways to use lots of odds and ends.
- Preserve food
Keep reading for lots more on this below.
- Compost anything left after all uses including veggie scraps used for broth
…or feed any chickens, goats or pigs being raised around you.
Broken down into steps, this seems doable, yes?
When we talk about preserving food by pickling, we are connecting to something Jews have done since antiquity. Even when enslaved in Egypt, Jews pickled to save every bit of food and survive through hard times and to improve the flavor. For example, historians have determined that the cucumbers the Israelites longed for during the Exodus were pickled. (“We remember the fish that we used to eat free in Egypt, the cucumbers, the melons, the leeks, the onions, and the garlic.” Numbers 11:5.)
Through the centuries, preserving vegetables, fruits, meat, fish and eggs meant providing food for long, less abundant periods. Eastern European Jews took advantage of warmer months to pickle beets, cabbage, cucumbers and other vegetables as well as fish (pickled herring, anyone?) to help them survive long, cold winters. Ashkenazic immigrants brought their pickling traditions with them to the US with pickling stores starting in 19th-century New York.
Jewish cuisines from around the world use pickling for flavor as well as extending the life of food. Think lemons preserved in salt and their own juice or Persian pickled vegetables (torshi) and garlic (sir torshi). Sephardim in the Ottoman Empire took on the ever-present Turkish pickled vegetables (turşu) in the blending of Ottoman and Sephardic cuisines.
My two favorite pickling methods are preserving food in either salt or a brine with vinegar or other acidic liquid, no water-bath canning is necessary for either. The acidic brine kills most of the bacteria to preserve food for years, even without refrigeration. Preservation in salt, which I do with cucumbers, cabbage and many other veggies, creates lacto-fermentation which promotes the growth of healthy bacteria alive with immunity-boosting probiotics.
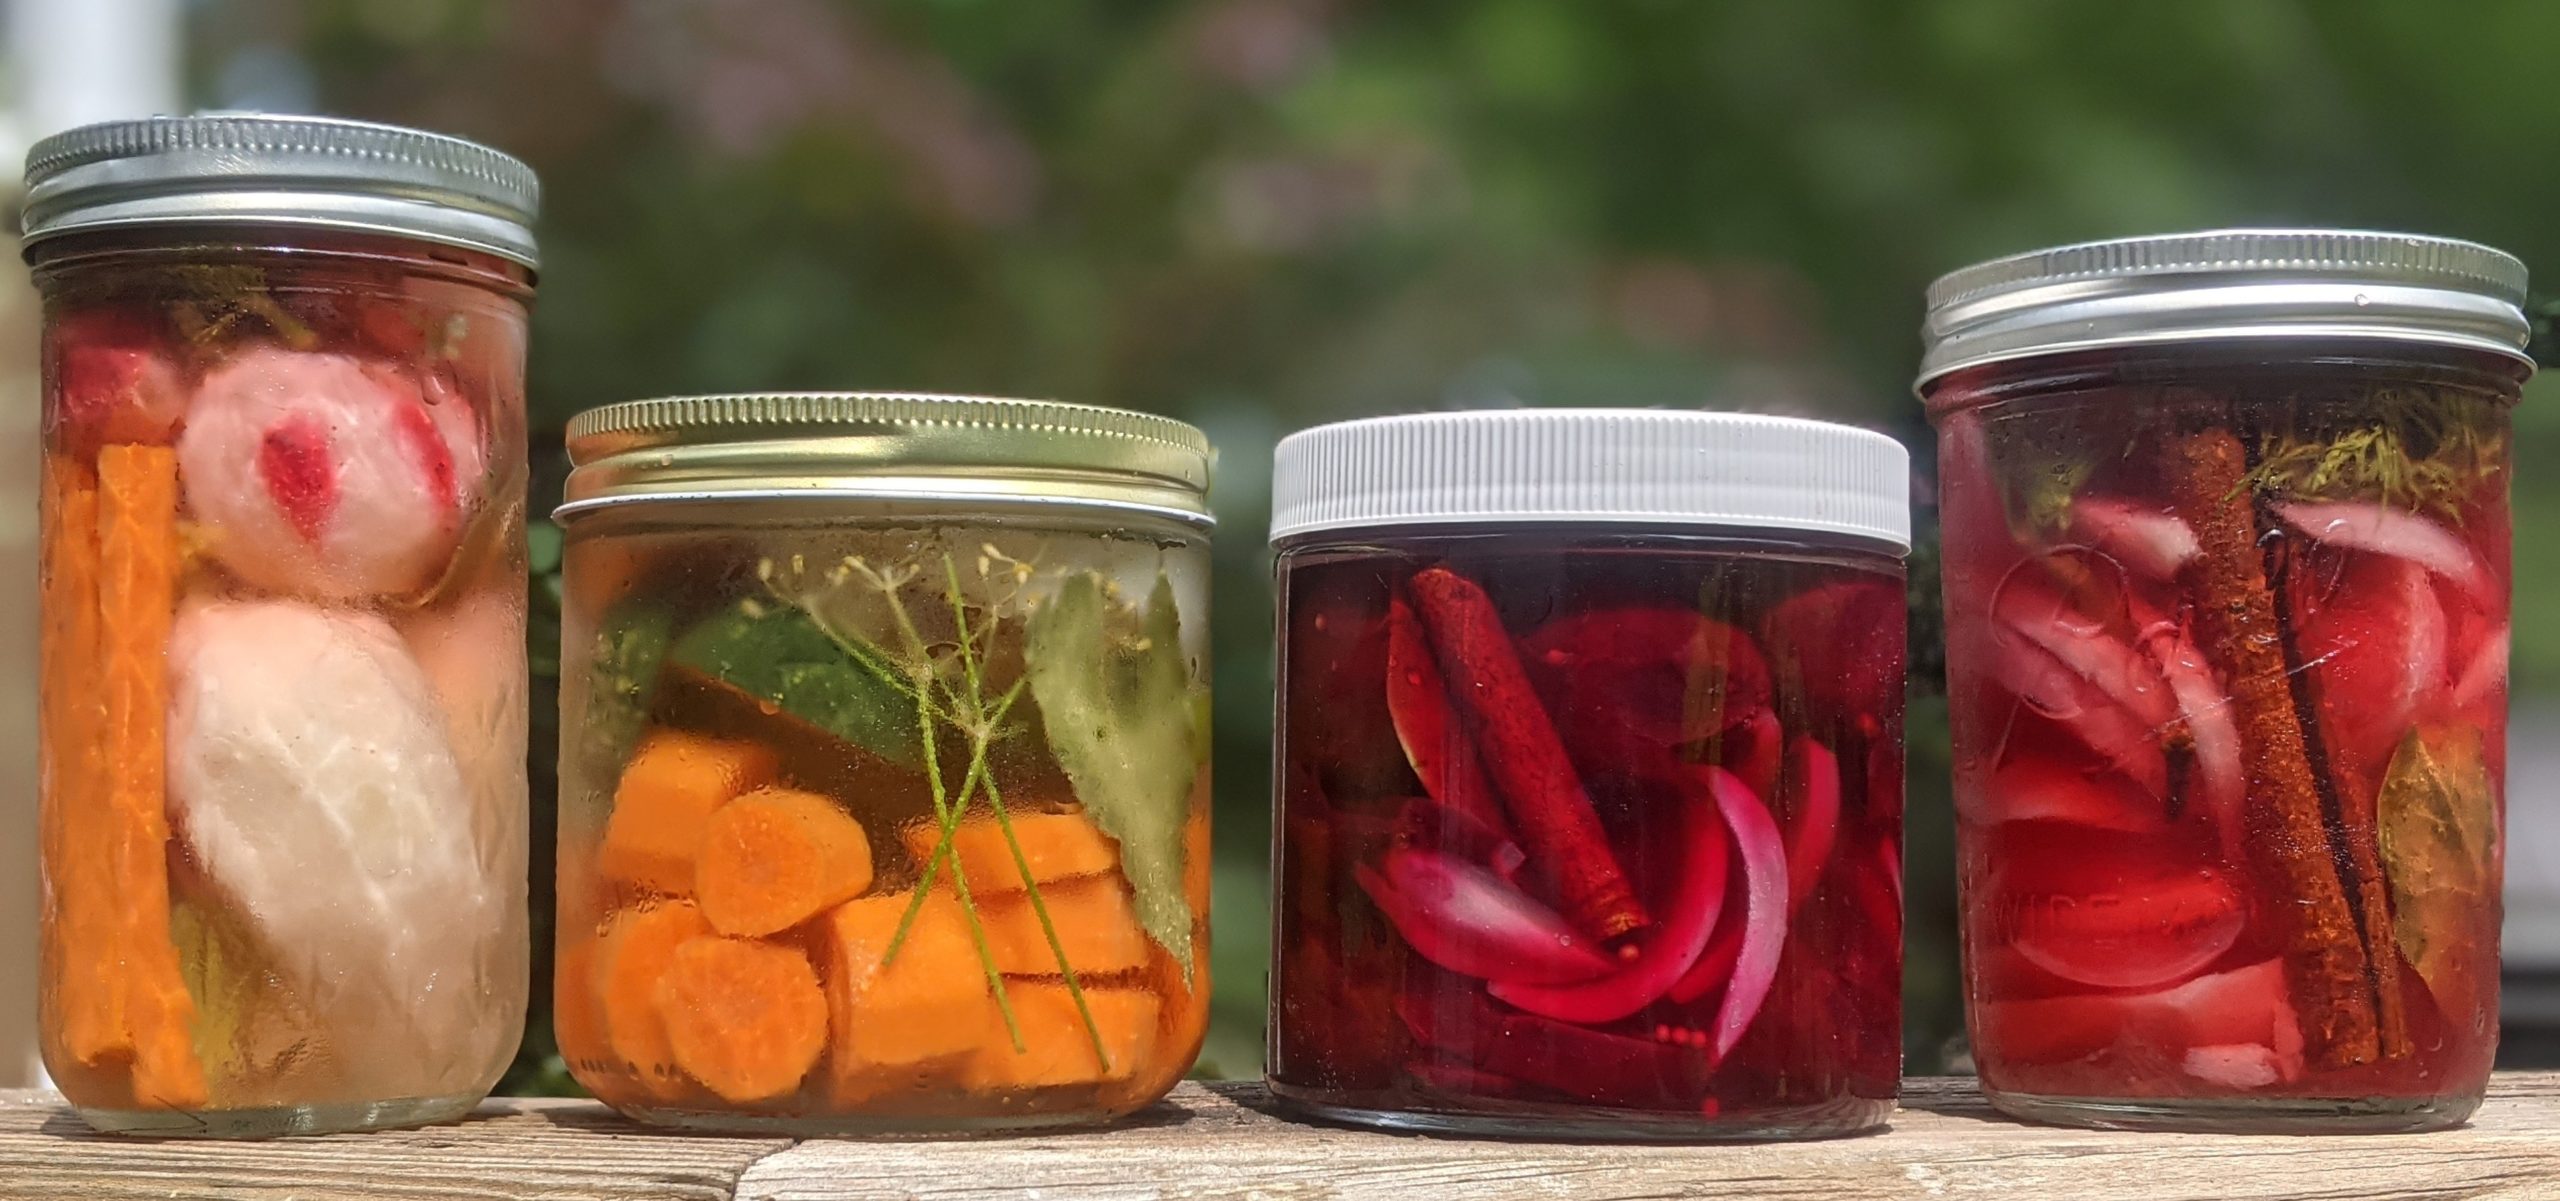
Whichever method you choose to use, the possible combinations for pickling vegetables and fruits with herbs, spices and alliums are nearly endless. Here are some basics to follow as you create your own jars of year-round goodness, which also make much-appreciated gifts.
PICKLING-TWO METHODS
METHOD ONE: Lacto-ferment in 1 tablespoon salt per 2 cups water. Pack very tightly to avoid vegetables expanding from the fermentation process. Cover the contents completely with the saltwater as anything not covered will rot and mold. Leave jars in a cool place out of the light for 1-10 days depending on the level of pickling desired. If still fermenting on day 3, “burp” every other day to release built-up fermentation gas by loosening lid and re-tightening. Refrigerate to stop fermentation. Keeps in the refrigerator for up to a year.
METHOD TWO: Brine in 1 part water to 1 part vinegar like white, apple cider or rice, but no aged vinegars like balsamic. The contents don’t have to be packed as tightly. Refrigerate at least 24 hours before eating. Keeps in the refrigerator for several months.
Flavor additions—try different combinations with different produce
- Fresh herbs such as basil, dill, thyme or rosemary: Add a bay leaf or two as the tannen in bay leaves helps keep the vegetables crisper
- Spices: Pickling spice mix, mustard seeds, cumin seeds, peppercorns, star anise, cardamom, cinnamon stick, cloves, bay leaves, fresh hot pepper, fresh ginger and fennel seeds, fonds and flowers
- Alliums: In combination for flavor or pickled on their own
- Garlic, onions, shallots, leeks, chives
- Sweetener: Optional to add a little sugar or honey, dissolved in warm water
- Raw vegetables: Cucumbers, carrots, celery, cauliflower, radishes, cabbage, Brussels sprouts, fennel, ramps, rhubarb, zucchini, yellow squash, bell peppers, tomatoes, beets (roasted and sliced for classic pickled beets)
- Blanched vegetables: Green beans, asparagus
DILL PICKLES
I learned to make these pickles from my father, Poppi, whose pickles were beloved. Now, during the summer when pickling cucumbers are abundant, I seem to make a jar of garlicky half-sours every week or two. In winter, I use the slender Persian cucumbers, which are a decent substitute although never seem to stay quite as crisp. Jars of pickles will keep for a year in the refrigerator. When the pickles are gone, the brine can be reused for another batch of pickles by adding about half as much salt, spices and garlic as originally used, or try adding the brine to salad dressings or cocktails. Some people even enjoy drinking it!
The ingredients are important. Make sure your cucumbers don’t have soft spots or wrinkly skin indicating they are not fresh. Use pure salt, not table salt which has anti-caking agents and preservatives. Also use filtered or bottled spring water without chlorine, which works against the lacto-fermentation.
This recipe makes a 1-quart jar. Size it up or down for larger or smaller jars, but always make sure the jar is taller than the cucumber by at least 1 inch if leaving the cucumbers whole.
Ingredients:
- About 1 pound pickling cucumbers
- 1-2 tablespoons kosher, Himalayan or sea salt
- 4-5 cloves fresh garlic, peeled
- 2 teaspoons pickling spice
- 3-5 stalks fresh dill
- Optional: 2 or 3 bay leaves, 1 or 2 hot red peppers, 1 stalk celery, small or very small green tomatoes
Wash the cucumbers well, rubbing off any prickly spines. Place in a large bowl of ice water and soak about 30 minutes for extra crispiness. In the meantime, peel the garlic and cut the larger cloves in half.
Remove cucumbers from the ice water. Leave whole or quarter into spears or slice, as you prefer.
In a very clean 1-quart jar with a tight-fitting lid, add the salt and 1-2 inches of warm filtered or spring water. Stir until salt dissolves. Add about half of each the garlic, dill and pickling spice to the jar. Pack the cucumbers as tightly as possible into the jar, adding the remaining garlic, dill and pickling spice over the top and down the sides into the spaces between the cucumbers. Fit in the hot peppers, if using, and bay leaves for extra crispiness. If there are any gaps, fill in with stalks of celery cut to fit or green tomatoes.
Fill the jar with cool water, covering the cucumbers with an extra inch of water on top. Any cucumbers not in the brine will rot and mold. Seal the jar tightly and let ferment for 1 to 10 days on your kitchen counter or in a cupboard away from heat, shaking every few days. Set a towel under the jars as they can leak during fermentation.
For crunchier, deli-style half-sours, leave the jars unopened for just 1 or 2 days. The longer left to ferment, the more full flavor you will get. The pickles will also be softer fermented over longer time. Taste the pickles every couple days, either re-sealing them to ferment longer or stopping the process by refrigerating the jars. Keep refrigerated for up to a year.
FREEZING FRUITS AND HERBS
Freezing is easy, saves summer tastes and rescues over-ripe fruit. Yes, the texture will change a bit, but the fruit will still be perfect for smoothies, ice cream or baking. Wash peaches, nectarines, apricots, cherries and any berries well. Pit the cherries. Peel the stone fruit if desired, although I don’t usually unless I’m removing bad spots from over-ripe fruit. Slice larger fruit into 1/2-inch wedges, discarding the pits. Place fruits and berries not touching on a parchment-covered baking sheet. Freeze for about 2 hours until firm, then place in a freezer bag or container. Keep frozen until using.
For herbs, wash well and dry completely. To freeze whole, picked or chopped herbs, spread out on a parchment-covered baking sheet so not touching much and freeze for1 to 2 hours. When frozen, place in freezer bags or containers and use as needed. Any unused stems of cilantro or parsley can be wrapped and frozen on their own or added to the veggie scrap bag in the freezer. (Note: I don’t freeze my herbs in water as I find it reduces their flavor and essential oils.)
Another option to best preserve the flavor of herbs is to blend a single herb or a mixture with just enough olive oil to chop to desired texture and freeze in small containers or ice cube trays. Once the ice cubes of herbs are frozen solid, remove to store in freezer bags or containers and use as needed for sauces, soups, stews and more.
ROASTED TOMATOES
Roasting tomatoes, especially over-ripe ones, creates the sweetest, most intensely flavored results. Check with your local farmer or at the farmer’s market for seconds usually sold at a discount. Another tip is to go near the end of the market time when vendors want to get rid of as much produce as possible. Even if you have just a couple of tomatoes starting to go bad, it’s worth giving them new life by roasting with a little olive oil, garlic and dried herbs.
Ingredients:
- About 4 pounds large tomatoes, plum or cherry tomatoes, any color
- 1-2 tablespoon olive oil
- 1 teaspoon salt
- 1-2 teaspoons dried oregano, basil and/or thyme
- 8-10 cloves garlic, smashed slightly and peeled
For slow roast, preheat oven to 225 degrees; for quick roast, 375 degrees. Cover 1 or 2 large baking sheets, depending on how many tomatoes you’re using, with parchment paper.
Slice large tomatoes into 1/2-inch wedges or thick slices. Halve plum or cherry tomatoes lengthwise. Leave smaller tomatoes whole. Toss tomatoes in a bowl with the remaining ingredients. Spread mixture out in a single layer on the prepared baking sheet(s), making sure at least one cut side is turned down onto the baking sheet.
For slow roast, cook for 4-5 hours; for quick, 45-50 minutes until tomatoes are very soft and starting to caramelize. Cool and store in the refrigerator in a covered container for a week or freeze in a flat freezer bag or freezer-safe container for up to 4 months. Add just cooked or defrosted tomatoes as an appetizer on their own or with cheese, tossed with pasta or vegetables, on pizza, or pureed for sauce or soup.
All recipes by Susan Barocas. Please do not reprint or post on social media without permission.